Uploading images from the cloud
Upload thermal and visible spectrum images into the Raptor Maps App
Once you’ve flown a site and collected images, you’ll need to upload the images to the Raptor Maps App.
Note: Use the uploader only to upload image files. For zip, pdf, or other file types, please email them to[email protected]
If you have access to the Raptor Maps app, log in and select Upload Images.
If you don’t have a Raptor Maps account, send an email to [email protected] to request a link. Provide the name of the site associated with the images.
Tip: Bookmark the link to use for your next upload session. Edit the session name to match the name of the site.
Transfer a maximum of 1000 images during each upload session.
Note: Please access the app using the Chrome browser.
Using the link provided to you, access the Upload Images page. If you’ve copied the images to a cloud drive, click on Cloud:

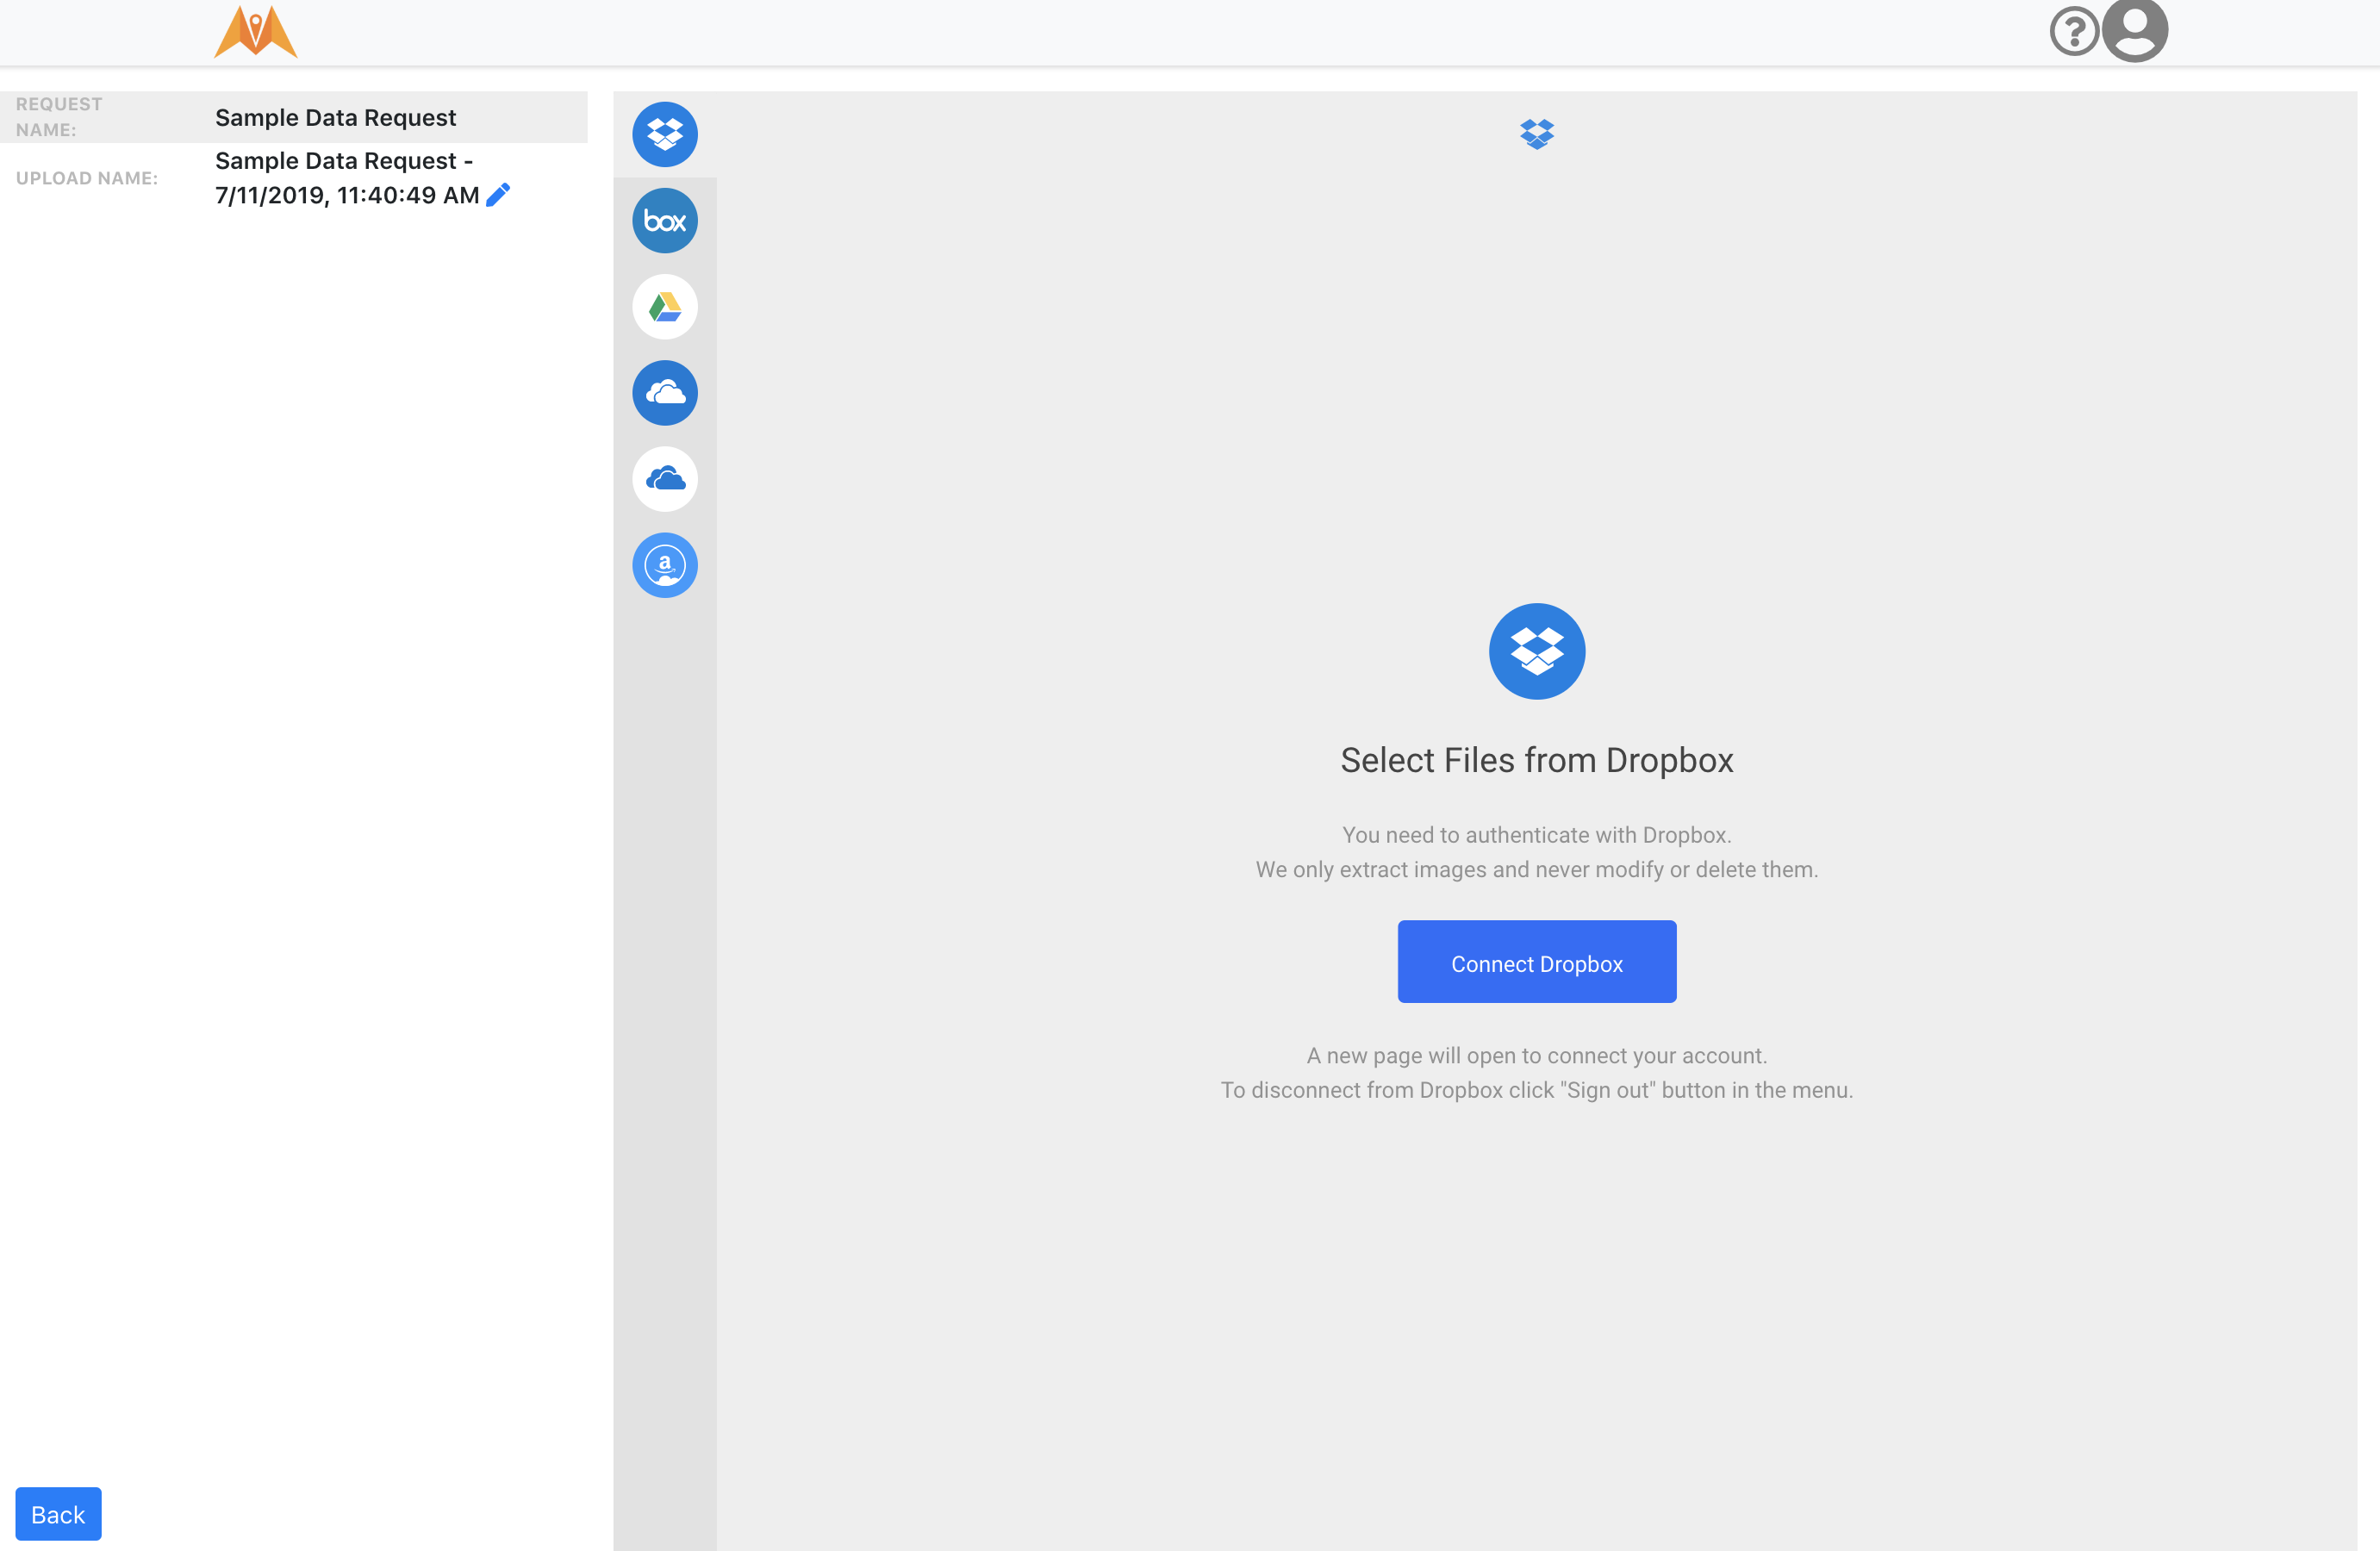
The main upload page displays:

Review the request name and upload name. If you need to change it, click on the pencil icon to do so.
Use the following convention to name the upload:
CLIENT NAME - SITE NAME - FILE TYPE (IR, RGB, BOTH)
If you are uploading data to enable create of an orthomosiac, use ORTHO as the file type.
Note. We need the full site name to match upload sessions with the associated report; do not abbreviate the site name.
The Raptor Maps app supports data transfer from Dropbox, box, Google Drive, Microsoft OneDrive, Apple iCloud, and Amazon Drive. Specify your cloud drive type by clicking on the appropriate icon. Click on Connect to sign in to the drive.
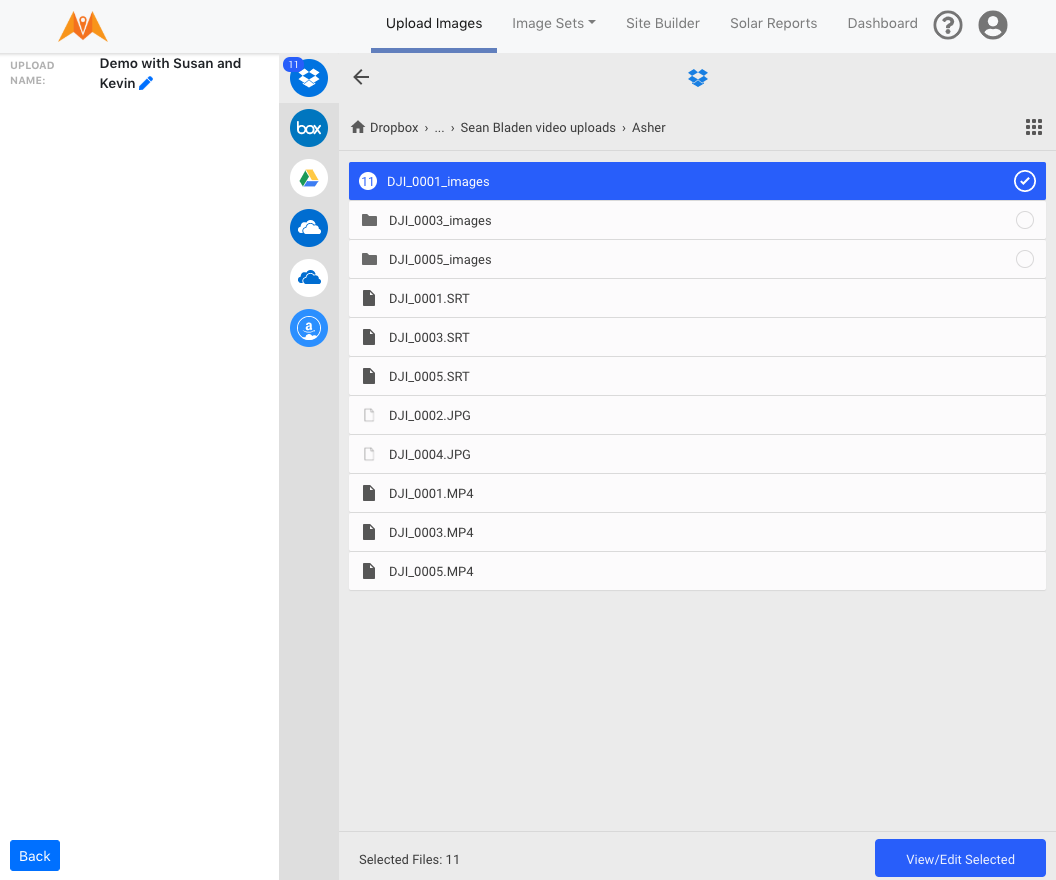
Select the appropriate files. You can select the contents of a specific folder by clicking on the Add folder circle to check it.

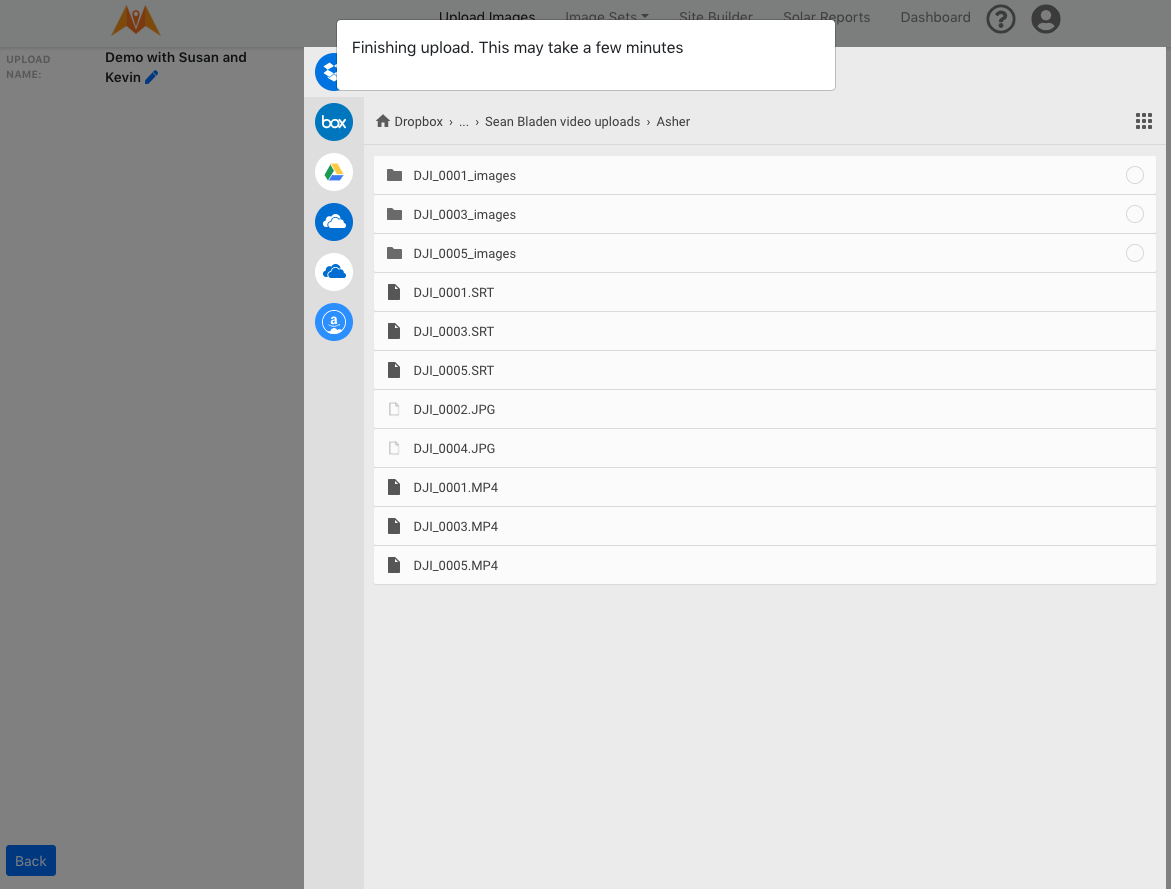
Click on View/ Edit to review, then click on Upload to begin transferring the images. The upload may take a few minutes.

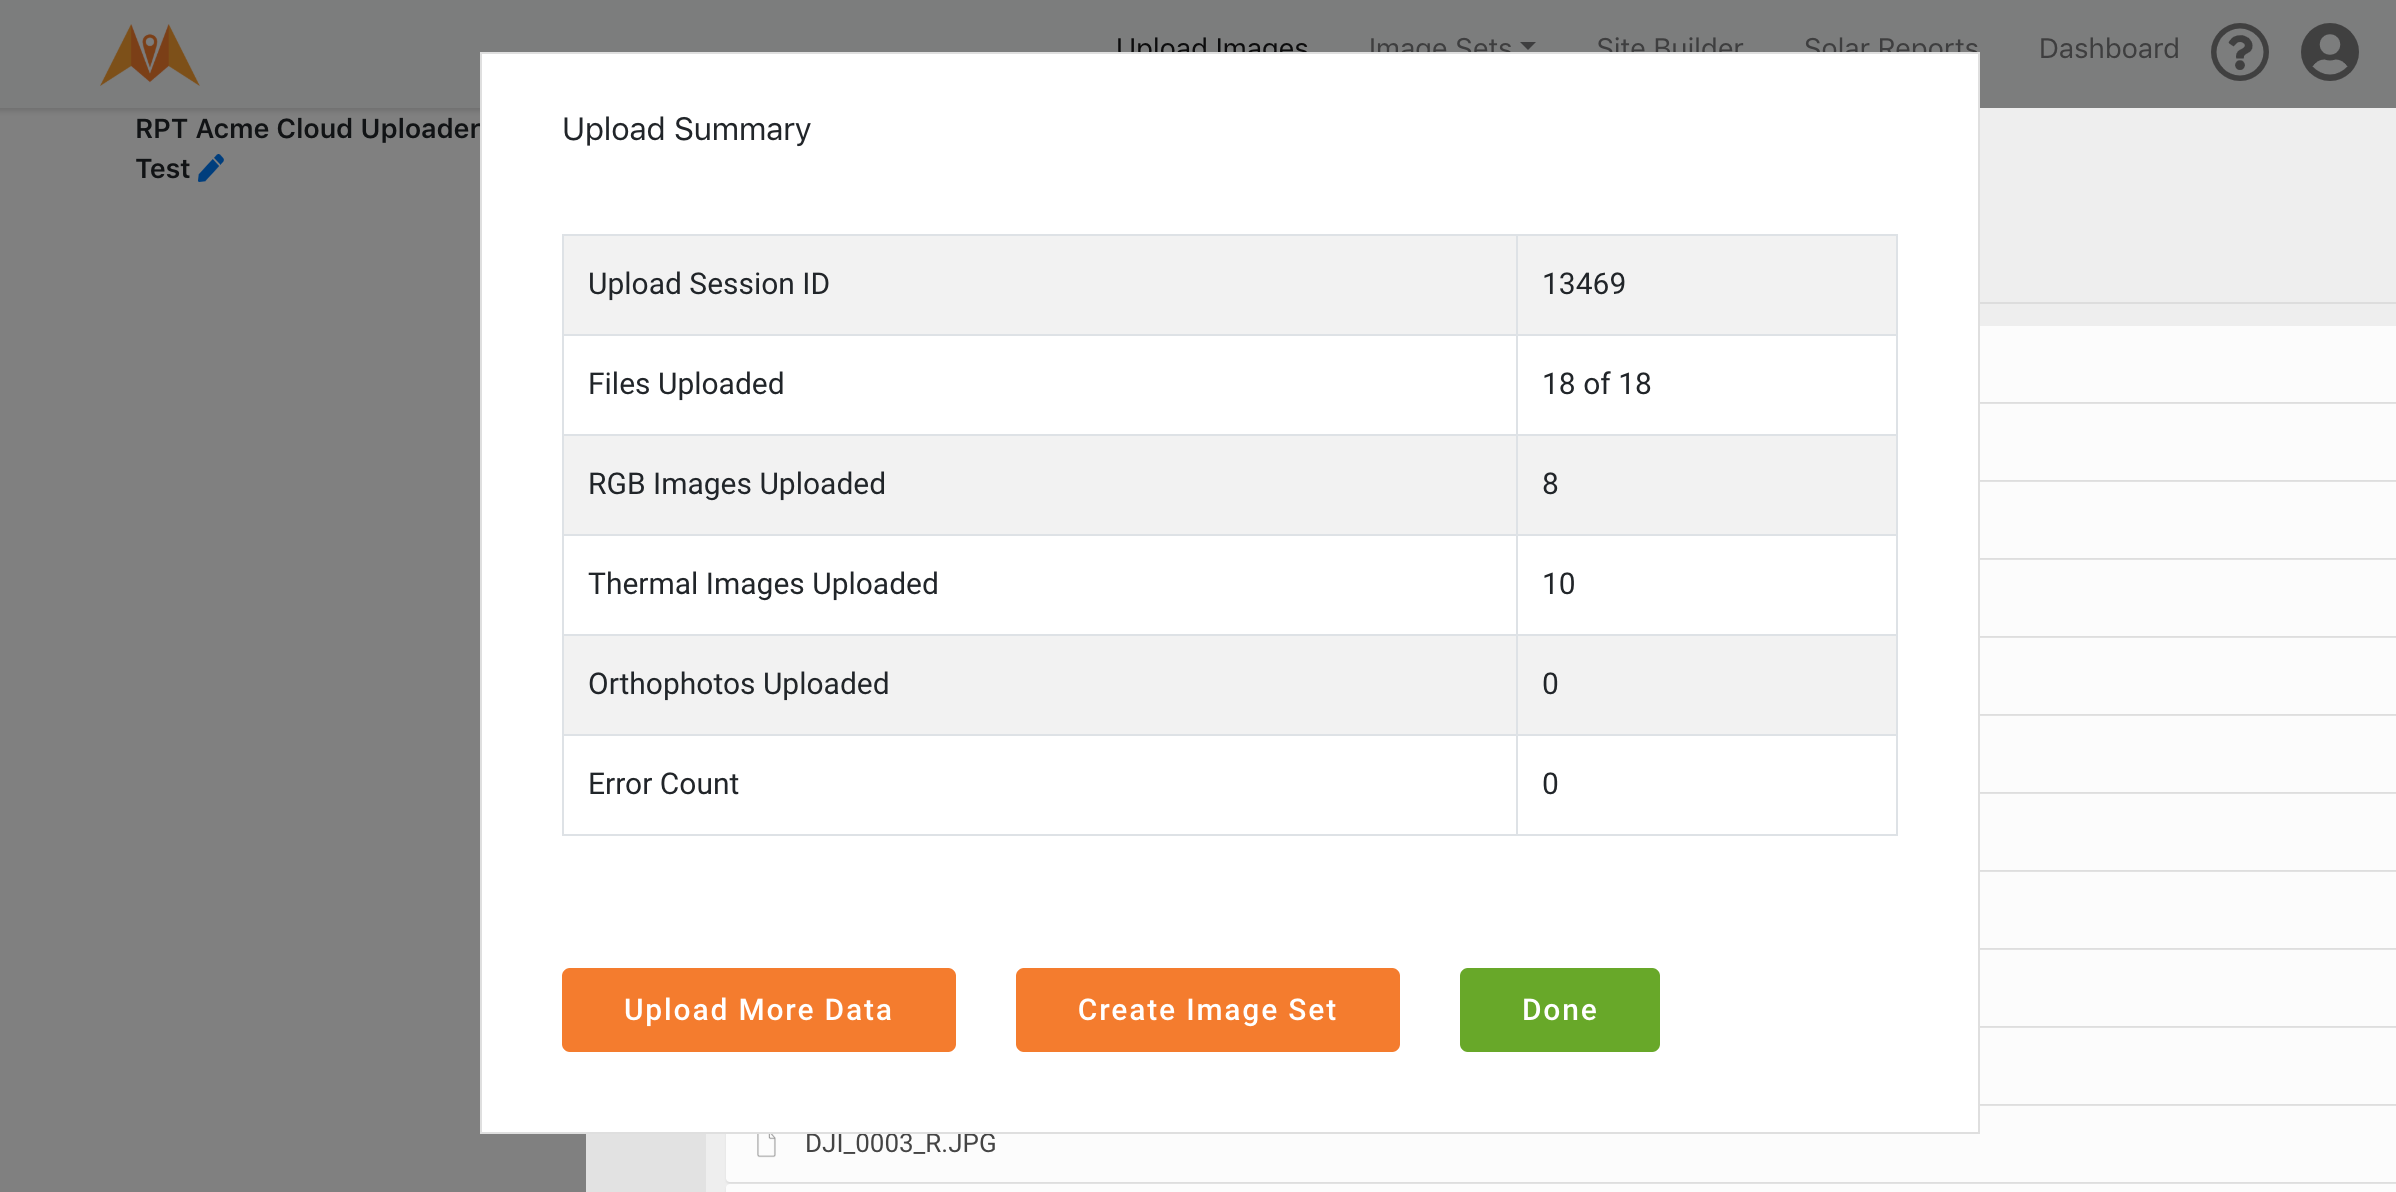
Once all files have been transferred, the Upload Summary page displays.
Check that the appropriate number of thermal images and RGB images have been uploaded.

If you have additional files to transfer, click on Upload More Data . You''ll return to the initial Upload Images page. Once you've clicked on Cloud, proceed as outlined above. Select your cloud drive type and revise the name of the upload prior to selecting the images you wish to transfer.
Updated 3 months ago
